


Return to Throwing: How to Safely Progress Volume, Distance, and Intensity
Updated: Sep 12
Kathy Ryan-Ceisel, PT MHS | Algonquin Sports PT
Overhead Throwing Expert-Athletic Edge and Wellness Edge
For baseball and softball athletes recovering from injury, simply being pain-free does not mean they are ready to return to throwing. A structured Return-to-Throwing Program is designed to gradually expose the arm to increasing stress while monitoring the athlete's response.
Throwing is a high-speed, high-force activity that places progressively greater demands on the shoulder, elbow, trunk, pelvis, and lower extremities. The goal of a Return-to-Throwing Program is to gradually expose the athlete to those demands while monitoring how the body responds. Current sports medicine literature supports a criterion-based and individualized approach rather than simply following a calendar. This should be based on tissue healing, workload management, physical readiness, and recovery rather than arbitrary timelines.
What Comes First: Volume, Distance, or Intensity?
Sports medicine literature supports progressing throwing stress in the following order:

1. Volume
Number of throws
Number of throwing days per week
Total workload
2. Distance
Gradually increasing throwing distance
Creates greater arm stress and ball velocity demands
3. Intensity
Percentage of maximum effort
The final variable to increase
The biggest mistake athletes make is increasing too much, too soon; especially on the intensity side. The elbow and shoulder tolerate intensity workload much better when volume and distance have already been established.
A simple progression might look like:
Week 1: Warm up throwing, 30-45 feet, low intensity
Week 2: 45-60 feet, low intensity
Week 3: Increase number of throws
Week 4: Increase distance
Week 5: Introduce greater effort
Week 6+: Progress toward higher intensity and position-specific throwing
⬆️How Should Throwing Intensity Progress?
Intensity is another area where athletes often progress too quickly.
An athlete may be pain-free throwing at 45 feet but experience symptoms when they suddenly begin throwing at 90–100% effort. That is why distance and intensity need to be progressed together in a controlled manner.
An effective method to convey intensity is by describing perceived effort. Terms like soft and firm throwing are more comprehensible for our younger athletes. Additionally, what does 60% signify? 60% of what exactly? Without knowing the intensity of their throws prior to the injury, how can we determine the appropriate level for post-injury throwing?
Easy / Soft Throw/Comfortable
Approximately % 50-60 effort
The athlete should feel relaxed and controlled.
The objective is to reintroduce the throwing motion and allow the tissues to adapt to throwing.
Think:
"Easy catch."
Moderate / Firm Throw
Approximately 60–70% effort
The athlete begins to put more intent behind the throw while maintaining good mechanics.
Think:
"Firm but controlled."
High-Intent/Hard Throwing
Approximately 80–90% effort
The athlete begins approaching the demands of competitive throwing.
This should only be introduced after an adequate throwing foundation has been established.
Think:
"Throw it with intent."
Maximum-Intent/Game Speed Throwing
Approximately 90–100% effort
This represents the highest level of throwing stress and is generally one of the final components introduced.
Think:
"Game-speed throw."
These percentages should be considered guidelines, not precise measurements.
An athlete's perceived 70% effort may not actually equal 70% of their maximum throwing velocity. When available, objective measures such as radar velocity or wearable technology can help clinicians better quantify throwing intensity and workload.
A study published in the American Journal of Sports Medicine evaluated high school and collegiate pitchers throwing at 100%, 75%, and 50% perceived effort. When players thought they cut their effort in half (50% effort), their elbow varus torque (valgus stress equivalent on the medial elbow) still remained at roughly 87% of maximum, and velocity stayed at 78% of maximum.
How Do You Know You're Ready to Progress?
Athletes should meet all of the following criteria before advancing:
✓ No pain during throwing
✓ No pain after throwing
✓ No lingering soreness beyond 24 hours
✓ No loss of velocity or command
✓ Full shoulder and elbow range of motion
✓ Strength maintained from baseline testing
Your Diagnosis Changes Your Return-to-Throwing Program
There is no universal Return-to-Throwing Program.
An athlete recovering from a rotator cuff injury should not necessarily follow the same program as an athlete recovering from a labral repair.
A player recovering from:
Shoulder strain
Rotator cuff injury
Labral injury
Shoulder instability
UCL sprain
UCL reconstruction
UCL repair
Elbow injury
Fracture
Nerve injury
Muscle injury
May all require different restrictions and progressions.
Furthermore, a physician may determine:
When throwing can begin
How often the athlete can throw
How far the athlete can throw
How much effort is allowed
Whether long toss is appropriate
When mound work can begin
When specific pitch types can be introduced
When the athlete can return to competition
The physician's and rehabilitation team's restrictions take priority in a throwing program. For example, some UCL reconstruction protocols do not initiate interval throwing until approximately six months postoperatively and require objective strength, range-of-motion, and functional testing before beginning the throwing progression.
Another important point: the same diagnosis can produce different return-to-throwing timelines. The athlete's age, surgery, tissue quality, complications, strength, mobility, previous workload, position, and response to rehabilitation all matter.
Return-to-Throwing Soreness Rules
One of the most effective ways to determine whether an athlete is ready to progress is by monitoring soreness during and after throwing. The arm should be challenged, but it should not be overwhelmed. Many rehabilitation specialists use "the soreness rules" to help determine response to progress. This helps the medical team to adjust workload based on symptoms.
Research has shown that athletes who continue throwing while fatigued significantly increase their risk of shoulder and elbow injuries.
Soreness Rules
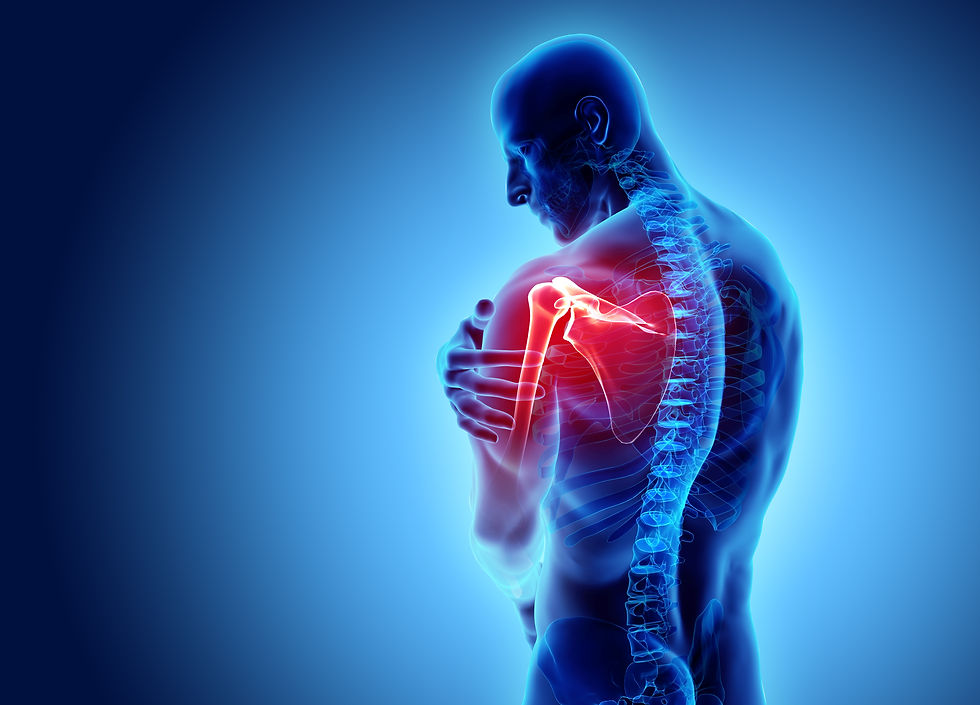
No soreness during throwing
Continue the program as scheduled.
Progress to the next step if all other criteria are met.
Mild soreness that resolves within 24 hours
Repeat the same throwing session before progressing.
Do not increase volume, distance, or intensity until symptoms are completely resolved.
Soreness lasting longer than 24 hours
Take one day off from throwing.
Return to the previous successful throwing session.
Remain at that level until soreness no longer occurs.
Pain during throwing
Stop throwing immediately.
Assess mechanics, workload, mobility, and strength deficits.
Do not progress until symptoms are resolved.
Pain that alters mechanics
Stop the session immediately.
Throwing through pain often results in compensatory movement patterns that increase stress on the shoulder and elbow.
The 24-Hour Recovery Rule
A well-designed throwing progression should allow the athlete to recover fully within 24 hours. Persistent soreness, stiffness, loss of velocity, loss of command, or a feeling of arm fatigue the next day suggests the workload exceeded the athlete's current capacity.
Remember: soreness is information. It is not something to ignore. Successful return-to-throwing programs use soreness and recovery responses to guide progression rather than relying solely on a calendar.
📅How Many Days Per Week Should You Throw?
Most return-to-throwing programs recommend:
Early Phase
3 days per week
Every other day schedule
Middle Phase
4-5 days per week
Depending on recovery and workload tolerance
Advanced Phase
Position-specific schedule
Mimics sport demands
Rest days are critical because the healing process occurs during recovery, not during the throwing session itself.
📈Progressing Throwing Distance: When Do You Start Long Toss?
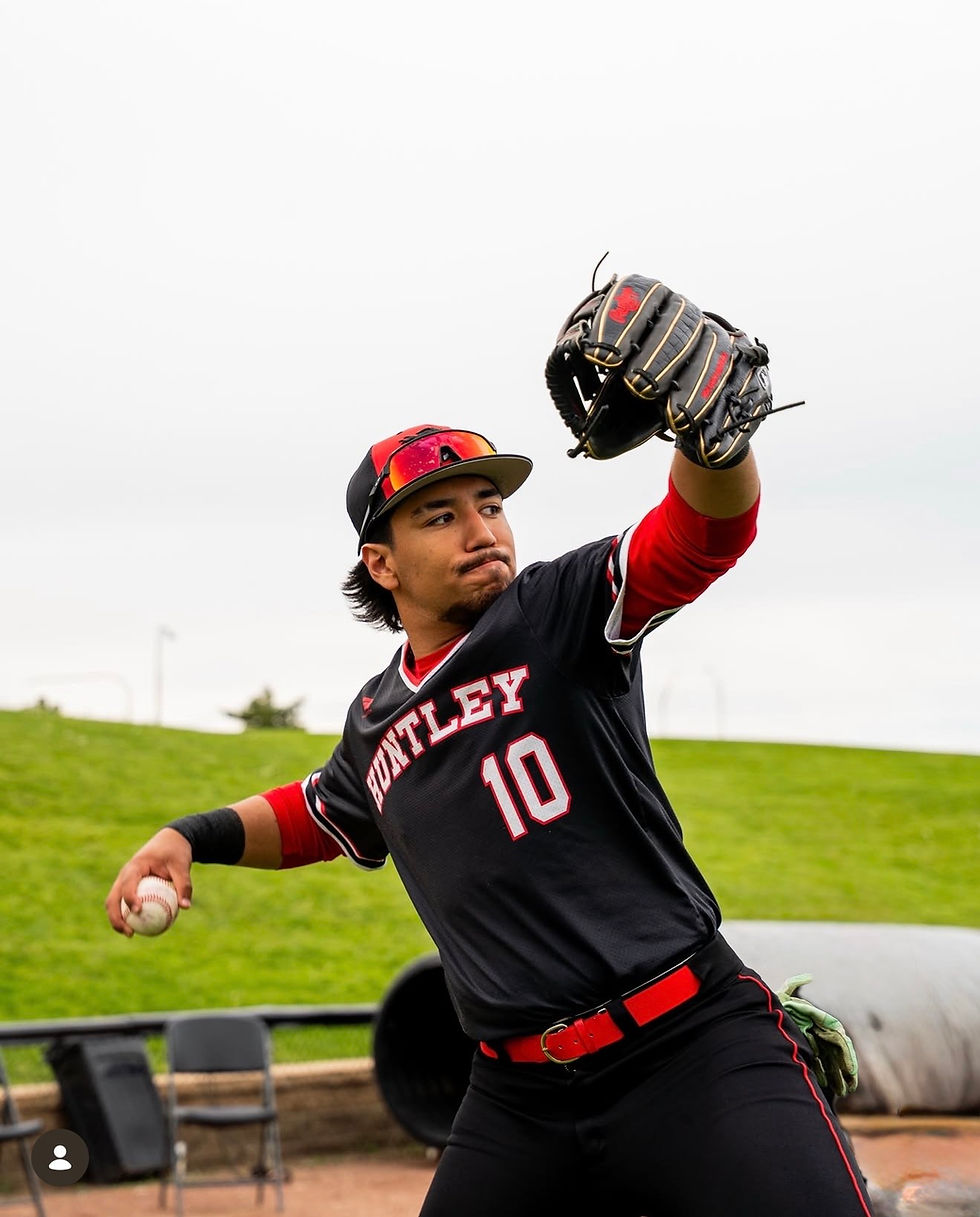
Once an athlete has established a foundation of pain-free short-distance throwing, the next step is gradually increasing throwing distance.
A typical progression may move from:
30 feet → 45 feet → 60 feet → 75 feet → 90 feet → 105 feet → 120 feet → 135 feet → 150+ feet
These distances are examples—not a prescription for every athlete.
The actual progression should be determined by the athlete's:
Age
Diagnosis
Surgical procedure, if applicable
Position
Previous throwing workload
Strength and mobility
Throwing mechanics
Current symptoms
Response to the previous throwing session
Published interval throwing programs have used different distances and progressions, which reinforces the importance of individualizing the program rather than assuming that every athlete needs to reach the same distance.
When Is an Athlete Ready for Long Toss?
Long toss should not automatically be the next step simply because an athlete has reached a certain number of feet.
Long toss is another form of loading.
Research has demonstrated that longer-distance throwing can increase shoulder and elbow torques. For some injuries—particularly certain shoulder or elbow surgeries—maximum-distance throwing may need to be delayed or modified.
Before introducing long toss, an athlete should generally be able to:
✓ Throw at shorter distances without pain
✓ Complete the prescribed throwing volume
✓ Recover without increased soreness the following day
✓ Maintain normal throwing mechanics
✓ Demonstrate adequate shoulder, elbow, trunk, and lower-body mobility
✓ Demonstrate appropriate strength and neuromuscular control
✓ Maintain consistent ball flight and accuracy
✓ Demonstrate confidence in the throwing arm
The athlete does not necessarily need to be "100% normal" in every strength or mobility measurement before beginning a throwing progression, but the rehabilitation team should establish appropriate objective criteria for that specific injury.
For example, a recent UCL reconstruction should not be progressed to long toss simply because the athlete feels good. The surgeon's rehabilitation protocol, tissue-healing timeline, strength testing, range of motion, and clinical examination all need to be considered.
Long Toss Is Not the Same for Every Athlete
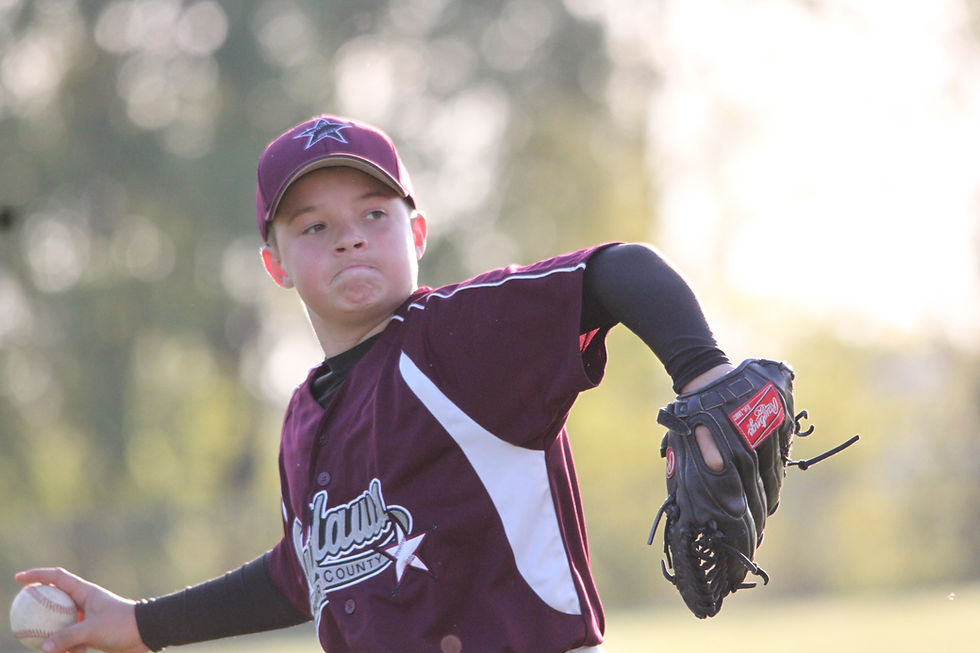
A 10-year-old recreational player does not have the same throwing requirements as a 14-year-old travel player, high school athlete, college athlete, or professional player. Likewise, an infielder does not need the same throwing-distance progression as an outfielder or pitcher.
Age- and position-specific interval throwing programs have been developed because throwing volume, distance, intensity, and game demands vary substantially by age and position. For younger athletes, long-toss distance should generally be based on age, pre-injury throwing ability, and the demands of their level of play, rather than trying to achieve an arbitrary distance.
For example, historical data-based programs have used different maximum long-toss distances for younger athletes compared with older athletes, and the maximum distance was also influenced by pre-injury performance.
More distance is not automatically better.
The goal of long toss during rehabilitation is to gradually build the athlete's capacity to tolerate throwing—not to see how far they can throw.
Does the athlete maintain:
Good posture?
Good trunk rotation?
Efficient lower-body contribution?
Appropriate arm path?
Consistent release?
Normal follow-through?
Accuracy?
If increasing intensity causes the athlete to change mechanics, lose command, or develop pain, that may be a sign that the athlete has progressed faster than their current capacity allows.
Do Not Increase Everything at Once
One of the biggest mistakes during return to throwing is increasing distance, volume, and intensity simultaneously.
For example:
An athlete may go from:
60 feet × 30 easy throws
to

120 feet × 60 throws at high intensity in only a few sessions.
That is a very large increase in workload.
Instead, manipulate one variable at a time when possible.
For example:
Increase distance while keeping effort relatively low.
Then:
Maintain distance while increasing volume.
Then:
Maintain volume and distance while gradually increasing intensity.
Eventually, all three variables can be increased—but the athlete should have time to adapt to each new demand.
Newer workload-based interval throwing programs gradually increase throwing volume and distance while maintaining a controlled progression of workload, illustrating the shift toward more individualized workload management in modern throwing rehabilitation.
Position Players and Pitchers Have Different Throwing Demands
Not every baseball or softball player needs to return to throwing the same way.
➡️Infielders
Infielders need to tolerate:
Frequent throws
Short-to-moderate distances
Throws from different body positions
Quick transfers
High-intent throws across the diamond
Their program should eventually incorporate fielding and throwing from realistic positions.
➡️Outfielders
Outfielders typically need greater throwing distances and higher-intent throws.
Their progression may eventually include:
Crow-hop throws
Longer-distance throws
Throws from different angles
High-intent throws to bases
➡️Catchers
Catchers have unique demands because they repeatedly throw with:
A shortened arm cycle
Rapid transitions
High intent
Limited time
Repeated throws to multiple bases
A catcher therefore needs a progression that eventually incorporates pop-up mechanics and game-speed throws.
➡️Pitchers
Pitchers are different.
They must tolerate repeated high-intent throws using a highly specialized movement pattern.
Their return to sport therefore requires an additional Return-to-Pitching Program.
Being able to throw 120 feet does not mean an athlete is ready to pitch.
What Is the Pitching Progression?
Pitching should generally be treated as a separate phase of return to throwing.
A generalized progression may look like:
Short catch
↓
Progressive catch
↓
Long toss
↓
Position-specific throwing
↓
Flat-ground pitching
↓
Mound work
↓
Higher-intensity mound work
↓
Full-intent fastballs
↓
Secondary pitches
↓
Live hitters
↓
Simulated game
↓
Limited competition
↓
Full competition
The exact progression will vary according to the diagnosis and the athlete.
Step 1: Flat-Ground Throwing
After completing the appropriate throwing progression, pitchers can begin reintroducing the pitching motion on flat ground when cleared by their medical and rehabilitation team.
The goal is to reintroduce:
Pitching mechanics
Arm speed
Lower-body contribution
Trunk rotation
Braking and deceleration
Pitch-specific movement patterns
Intensity should initially remain controlled.
The athlete should demonstrate that they can perform the pitching motion without pain or deterioration in mechanics before progressing to the mound.
Step 2: Begin Mound Work
Once the athlete demonstrates adequate tolerance to the preceding phase, mound work can be introduced.
Early mound throwing may begin with:
Low-intensity fastballs
followed by gradual increases in:
Number of pitches
Intensity
Number of innings
Pitching frequency
The mound introduces a more sport-specific movement pattern and therefore represents another increase in workload.
Some published programs use specific pitch counts and effort levels during this phase, while others use individualized progression based on workload and symptoms.
Step 3: Increase Pitching Intensity
A pitcher may progress from:
50% effort → 60–70% → 75–80% → 85–90% → full intent
Again, these are examples rather than universal requirements.
A pitcher does not need to hit an exact percentage before progressing.
The important question is:
Can the athlete increase intent while maintaining mechanics, command, velocity, and a normal recovery response?
This is where objective information can become particularly valuable.
If a pitcher normally throws 75 mph and suddenly cannot reach normal velocity at an effort that previously produced it, that may be useful information—even if the athlete reports no pain.
Step 4: Introduce the Full Pitch Mix
Many return-to-pitching programs initially emphasize fastballs before gradually adding secondary pitches.
A typical progression might be:
Fastball
↓
Changeup
↓
Breaking ball
↓
Full pitch mix
However, this should be individualized.
The athlete's medical diagnosis, age, pitch type, mechanics, previous workload, and physician/rehabilitation restrictions should determine when secondary pitches are introduced.
Some medical protocols specifically restrict breaking balls during early rehabilitation and do not permit them until the athlete has been cleared for mound work.
Step 5: Increase Pitch Count and Innings
Increasing pitch intensity is only one component of returning to pitching.
The athlete must also develop the capacity to tolerate:
More pitches
More innings
More high-intent pitches
Less recovery between innings
A normal pitch mix
Game-like situations
This is where many athletes make another mistake.
They may be able to throw 30 pitches at practice but have not yet developed the capacity to throw 70–90 pitches in a competitive environment.
Return to pitching must therefore progress from throwing ability to pitching capacity.
Step 6: Live Hitters and Simulated Competition
Before returning to unrestricted competition, the pitcher should eventually experience situations that reproduce the demands of the game.
This may include:
Live hitters
Full pitch sequences
Pitching from the stretch
Pitching from the windup
Multiple innings
Normal rest between innings
Normal pitch mix
Game-speed intensity
Defensive responsibilities
The goal is to bridge the gap between:
"I can throw."
and
"I can pitch."
Return to Competition
The final progression may look like:

Return to throwing
↓
Long toss
↓
Position-specific throwing
↓
Pitching progression
↓
Live hitters
↓
Simulated game
↓
Limited competition
↓
Full competition
Return to competition should occur only after the athlete demonstrates that they can tolerate the demands of their position—not simply because they have reached a certain date.
Non-Negotiables with Return to Throwing
📌Warm-Up Before Throwing
Research supports a dynamic warm-up before every throwing session.
A quality warm-up should include:
General Body Preparation
Light jogging
Skipping
Dynamic stretching
Mobility Work
Thoracic spine mobility
Hip mobility
Shoulder mobility
Arm Preparation
Band exercises
Scapular activation
Rotator cuff activation
Throwing Preparation
Wrist flips
Short-distance catch play
Gradual build-up to prescribed distance
Athletes who properly prepare the entire kinetic chain often demonstrate improved mechanics and reduced arm stress.
📌Recovery Work After Throwing
Recovery should begin immediately following the session.
Recommended recovery strategies include:
Light aerobic exercise
Shoulder mobility exercises
Posterior shoulder stretching when appropriate
Soft tissue work
Hydration
Proper sleep
Current evidence does not support routine icing for every throwing session unless specifically indicated for symptom management.
📌Strength Training During a Return-to-Throwing Program
Strength training should continue throughout the throwing progression.
Research supports maintaining:
2-3 Full Body Strength Sessions Per Week
Focus on:
Lower body strength
Core stability
Scapular strength
Rotator cuff strength
Posterior chain development
Strength training volume may need to be reduced as throwing intensity increases.
Remember: throwing is not a substitute for strength training, and strength training is not a substitute for throwing. Both are necessary for a successful return to sport.
⚾The Goal Is Not Just to Be Pain-Free
One of the most important concepts for athletes, parents, and coaches to understand is:
Pain-free does not automatically equal ready.
An athlete can be pain-free and still have:
Strength deficits
Mobility restrictions
Poor mechanics
Poor workload tolerance
Reduced endurance
Loss of velocity
Loss of command
Poor recovery capacity
A successful return-to-throwing program therefore asks more than:
"Does it hurt?"
It asks:
"Can the athlete tolerate the workload they will be asked to perform?"
That is a much better definition of readiness.
💪Return to Throwing Is a Progression, Not a Date
There is no magic number of weeks that makes an athlete ready to throw.
There is no universal long-toss distance. There is no single percentage of effort that works for every athlete. And there is no single return-to-pitching program that works for every diagnosis.
The progression should be based on:
Diagnosis + tissue healing + strength + mobility + mechanics + workload + symptoms + recovery + age + position + competition demands
The ultimate progression is:
Build volume and capacity → Increase distance → Increase intent → Add position-specific demands → Add pitching demands → Rebuild workload → Return to competition
The goal is not simply to get the athlete back on the field.
The goal is to prepare the athlete for the demands waiting for them when they get there.
🗝️Key Takeaways
A successful return-to-throwing program is not simply about throwing harder. It is about progressively managing workload.
Increase:
Volume first
Distance second
Intensity last
Progress only when:
Pain-free during and after throwing
Recovery occurs within 24 hours
Mobility and strength remain unchanged
Performance continues to improve
The goal is not just returning to play—it's returning stronger, more resilient, and better prepared to handle the demands of the season.
At Athletic Edge and Wellness, our Return-to-Throwing Programs combines objective strength testing, mobility assessment, workload monitoring, and individualized progression plans to help baseball and softball athletes safely return to competition. Call us today @ 224-505-3343 for an individualized return to throwing plan.
Sports Medicine References
Axe MJ, Hurd W, Snyder-Mackler L. Data-based interval throwing programs for baseball players. Sports Health. 2009;1(2):145-153. doi:10.1177/1941738108331198.
Da Silva AZ, Connelly JW, Chalmers PN. Return to Play Throwing Programs. Clinics in Sports Medicine. 2025;44(2):273-289. doi:10.1016/j.csm.2024.05.005.
Hintz C, Colón D, Honnette D, et al. Individualizing the Throwing Progression Following Injury in Baseball Pitchers: The Past, Present, and Future. Current Reviews in Musculoskeletal Medicine. 2022;15(6):561-569. doi:10.1007/s12178-022-09799-8.
Wilk KE, Arrigo CA, Hooks TR, Andrews JR. Rehabilitation of the overhead throwing athlete: There is more to it than just external rotation/internal rotation strengthening. PM&R. 2016;8(3 Suppl):S78-S90.
Wilk KE, Macrina LC, Fleisig GS, et al. Rehabilitation and return to sport of the overhead athlete.
Axe MJ, Snyder-Mackler L, Konin JG, Strube MJ. Development of a distance-based interval throwing program for Little League-aged athletes. American Journal of Sports Medicine. 1996;24(5):594-602.
Wilk KE, Macrina LC, Fleisig GS, et al. Return to throwing after shoulder or elbow injury. Sports Health. 2018;10(4):367-376.
Axe MJ, Snyder-Mackler L, Konin JG, Strube MJ. Development of a distance-based interval throwing program for Little League-aged athletes. American Journal of Sports Medicine. 1996;24(5):594-602.
Keller RA, Steffes MJ, Zhuo D, Hedequist D, Eveland E, Potter HG, Pearle AD. Return-to-play criteria following ulnar collateral ligament reconstruction: a systematic review.
Axe MJ, et al. / updated workload-based interval throwing literature. An Interval Throwing Program for Baseball Pitchers Based upon Workload Data. International Journal of Sports Physical Therapy. 2024;19(3).


Comments